
This post may contain affiliate links. As an Amazon Associate, we earn from qualifying purchases. We only recommend products we trust.
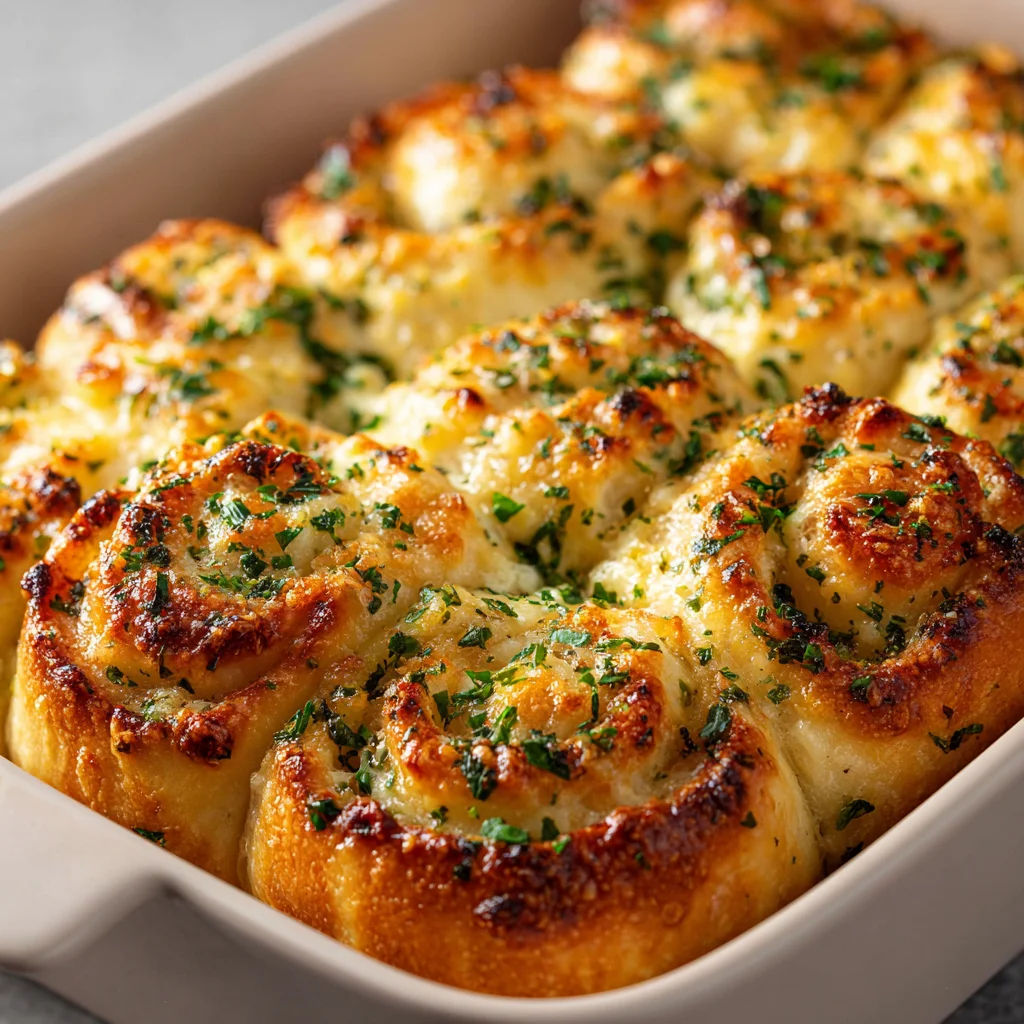
Ever crave warm, comforting bread that’s bursting with flavor? These cheesy garlic rolls are the answer! Soft, fluffy, and slathered in garlicky butter and melted cheese, they’re perfect for any occasion. Imagine the aroma filling your kitchen – pure bliss! Inspired by cozy family gatherings, this recipe is sure to become a new favorite. Let’s get baking!
Why You’ll Love These Cheesy Garlic Rolls
These cheesy garlic rolls are more than just bread; they’re an experience! Here’s why you’ll fall in love:
- Quick and easy prep – ready in under an hour!
- Irresistible cheesy garlic flavor in every bite.
- Perfect for appetizers, sides, or a snack.
- Budget-friendly ingredients you probably already have.
- A guaranteed crowd-pleaser for any gathering.
- Simple enough for even beginner bakers.
- The aroma alone will make your kitchen feel like home.
- Much less cleanup than making individual loaves.
These rolls will bring you back to cozy family memories. Their irresistible flavor and ease of preparation make them a must-try!
Ingredients Needed
Let’s gather everything you need to bake these incredible cheesy garlic rolls. Having the right ingredients on hand will make the process smooth and enjoyable. Here’s a detailed breakdown:
For the Dough:
- 1 cup (240ml) warm milk – Aim for about 110°F (43°C) for best yeast activation.
- 2 1/4 teaspoons (7g) active dry yeast – Ensure it’s fresh for optimal rising.
- 1/4 cup (50g) granulated sugar – Adds sweetness and feeds the yeast.
- 1 teaspoon (6g) salt – Balances the sweetness and enhances flavor.
- 1/4 cup (60ml) vegetable oil – Adds moisture and helps create a soft dough.
- 3 cups (360g) all-purpose flour, plus more for dusting – Bread flour can also be used for a chewier texture.
For the Garlic Butter:
- 1/2 cup (1 stick) (113g) unsalted butter, melted – Using unsalted allows you to control the saltiness.
- 4 cloves garlic, minced – Freshly minced garlic provides the best flavor.
- 1/4 cup (15g) chopped fresh parsley – Adds freshness and color; dried parsley can be substituted if needed.
- 1/4 teaspoon (1g) garlic powder – Enhances the garlic flavor.
- 1/4 teaspoon (1.5g) salt – Seasoning for the garlic butter.
For the Cheese Topping:
- 1 1/2 cups (150g) shredded mozzarella cheese – Adds a melty, gooey texture.
- 1/4 cup (25g) grated Parmesan cheese – Provides a sharp, savory flavor.
Selection Tip: For the best flavor, source fresh parsley from your local farmer’s market. If you want to elevate the taste of your butter you can melt the butter and toast it slightly until golden brown. This will give it a nutty aroma.
YOU MIGHT LOVE: Easy Cinnamon Roll Casserole – A delightful treat for the whole family.
Essential Equipment List
Having the right tools can make baking these cheesy garlic rolls a breeze. Here’s what you’ll need:
-
- Large bowl – For mixing the dough.
- Measuring cups and spoons – Essential for accurate measurements.
- Mixing spoon or stand mixer – A stand mixer with a dough hook makes kneading easier, but a spoon works just fine!
- Plastic wrap – To cover the dough while rising.
- Rolling pin – To roll out the dough into a rectangle.

- Knife or pizza cutter – For slicing the dough into rolls.
- 9×13 inch baking dish – To bake the rolls in.
No rolling pin? Use a clean bottle as a substitute! A heavy baking dish retains heat evenly for perfectly baked rolls.
Recipe Details
Here’s a quick overview of what to expect when making these cheesy garlic rolls:
- Prep Time: 20 minutes
- Cook Time: 20-25 minutes
- Total Time: 40-45 minutes
- Servings: 12 rolls
- Difficulty: Easy
This recipe is easy to follow and can be doubled for larger gatherings!
Step-by-Step Instructions
Follow these detailed instructions to create the perfect cheesy garlic rolls. Each step is designed to ensure your success!
Prepare the Dough
- In a large bowl, combine the warm milk, yeast, and sugar. Let it sit for 5-10 minutes until foamy. This indicates the yeast is active and ready to go.
- Add the salt, oil, and 2 cups of flour to the yeast mixture. Mix until combined. Gradually add the remaining 1 cup of flour, mixing until a soft dough forms.
Knead and Rise
- Turn the dough out onto a lightly floured surface and knead for 5-7 minutes until smooth and elastic. Alternatively, use a stand mixer with a dough hook for 5 minutes. Kneading develops the gluten, resulting in a soft and chewy texture.
- Place the dough in a lightly oiled bowl, turning to coat. Cover with plastic wrap and let it rise in a warm place for 1-1.5 hours, or until doubled in size. A warm environment helps the yeast work its magic.
Make the Garlic Butter
- While the dough is rising, prepare the garlic butter. In a small bowl, combine the melted butter, minced garlic, parsley, garlic powder, and salt. Mix well until everything is evenly distributed.
Shape and Bake
- Preheat oven to 375°F (190°C). Punch down the risen dough and turn it out onto a lightly floured surface. Roll the dough into a large rectangle, about 12×18 inches.
- Spread the garlic butter evenly over the dough rectangle, ensuring every part is covered.
- Sprinkle the mozzarella and Parmesan cheese evenly over the garlic butter. Don’t be shy with the cheese!
- Starting from the long edge, tightly roll the dough into a log. Slice the log into 12 equal rolls. A sharp knife or pizza cutter works best.
- Place the rolls in a greased 9×13 inch baking dish. Cover loosely with plastic wrap and let them rise for another 20-30 minutes. This second rise ensures extra fluffy rolls.
- Bake in the preheated oven for 20-25 minutes, or until golden brown and the cheese is melted and bubbly. Keep an eye on them to prevent burning.
- Let the rolls cool slightly before serving. Garnish with extra parsley, if desired.
Pro Tip: Resting the dough for an extra 10 minutes after kneading can lead to even fluffier rolls!
CHECK OUT: Irresistible Red Velvet Cinnamon Rolls Recipe – A delightful treat for the whole family.
Tips for Success
Here are some tips to help you bake the perfect cheesy garlic rolls every time:
- Don’t overheat the milk – Too hot, and it can kill the yeast. Aim for lukewarm.
- Knead the dough properly – This develops the gluten for a soft, chewy texture.
- Let the dough rise in a warm place – A draft-free environment is ideal.
- Don’t overbake the rolls – They should be golden brown and the cheese melted, but still soft.
- Use fresh garlic for the best flavor – It makes a big difference!
Beginners, pre-measuring everything makes the process easier. Use a pastry brush to spread the garlic butter evenly. This will give your rolls a beautiful golden crust.
Variations & Substitutions
Want to customize your cheesy garlic rolls? Here are some fun variations:

- Add herbs – Rosemary, thyme, or oregano for extra flavor.
- Different cheese – Try provolone, cheddar, or a blend of Italian cheeses.
- Spicy kick – Add a pinch of red pepper flakes to the garlic butter.
- Vegan option – Use plant-based butter and cheese alternatives.
For a gluten-free version, use a gluten-free flour blend. Keep in mind that the texture may vary slightly. You can also experiment with different types of milk, such as almond or soy milk, if you have dietary restrictions.
Serving Suggestions & Pairings with Cheesy Garlic Rolls
These cheesy garlic rolls are incredibly versatile! Here are some serving ideas:
- Serve as an appetizer with marinara sauce for dipping.
- Pair with your favorite pasta dish or lasagna.
- Serve alongside a hearty soup or stew.
- Perfect for potlucks, picnics, or family gatherings.
These rolls are fantastic with a crisp salad or roasted vegetables. A refreshing non-alcoholic drink, such as sparkling lemonade, complements the richness of the rolls perfectly. They’re a fall feast stunner!
Health Benefits
While these cheesy garlic rolls are a treat, they do offer some nutritional benefits:
- Calcium from the cheese contributes to strong bones.
- The dough provides carbohydrates for energy.
- Parsley is a source of vitamins A and C.
- Provides protein for muscle health.
Remember, moderation is key! One serving can provide a good boost of energy and essential nutrients.
Storage & Reheating
Here’s how to properly store and reheat your cheesy garlic rolls to maintain their deliciousness:
- Store in an airtight container at room temperature for up to 2 days.
- For longer storage, refrigerate in an airtight container for up to 4 days.
- To reheat, bake in a preheated oven at 350°F (175°C) for 5-10 minutes, or until warmed through.
- You can also microwave them for 30-60 seconds, but they may become slightly softer.
- For freezing, wrap the rolls individually in plastic wrap and store them in a freezer bag for up to 2 months. Thaw completely before reheating.
Cool the rolls fully before sealing to prevent spoilage. Reheating in the oven helps retain their crispy texture.
Frequently Asked Questions
Here are some common questions about making cheesy garlic rolls:
Can I use bread flour instead of all-purpose flour?
Yes, bread flour will create a slightly chewier texture.
How do I know if the yeast is active?
It should foam up when mixed with warm milk and sugar.
Can I make these rolls ahead of time?
Yes, you can prepare the dough and let it rise in the refrigerator overnight. Allow it to come to room temperature before shaping and baking.
How do I prevent the rolls from drying out?
Cover them loosely with foil during the last few minutes of baking.
Can I add other toppings besides cheese?
Absolutely! Try adding sun-dried tomatoes, olives, or caramelized onions.
Nutritional Information
Here’s a quick look at the nutritional content per serving of these cheesy garlic rolls:
- Serving Size: 1 roll
- Calories: 250
- Total Fat: 12g
- Saturated Fat: 7g
- Cholesterol: 30mg
- Sodium: 400mg
- Total Carbohydrate: 30g
- Dietary Fiber: 1g
- Sugars: 3g
- Protein: 5g
More Delicious Dishes to Explore
Craving more delightful baked treats? Check out these amazing recipes!
- Easy Garlic Parmesan Chicken and Potatoes Recipe – A flavor-packed dinner option.
- Dollywood Cinnamon Bread – A sweet and comforting treat.
- Cheesy Zucchini Breadsticks – A creative twist on a classic.
Conclusion
These cheesy garlic rolls are fast, flavorful, and a guaranteed crowd-pleaser. They bring warmth and comfort to any meal, making them perfect for family gatherings or a cozy night in. Whip up a batch tonight and tag us with your cheesy masterpiece!
Share this recipe with your friends and family who would love it! Join our vibrant community on Facebook and Pinterest for daily recipe inspiration, cooking tips, and more tasty ideas! Happy cooking!

Cheesy garlic rolls
- Total Time: 45 minutes
- Yield: 12 rolls 1x
- Diet: Vegetarian
Description
Soft, fluffy rolls bursting with cheesy garlic goodness, perfect for any occasion!
Ingredients
- 1 cup warm milk
- 2 1/4 teaspoons active dry yeast
- 1/4 cup granulated sugar
- 1 teaspoon salt
- 1/4 cup vegetable oil
- 3 cups all-purpose flour, plus more for dusting
- 1/2 cup unsalted butter, melted
- 4 cloves garlic, minced
- 1/4 cup chopped fresh parsley
- 1/4 teaspoon garlic powder
- 1/4 teaspoon salt
- 1 1/2 cups shredded mozzarella cheese
- 1/4 cup grated Parmesan cheese
Instructions
- In a large bowl, combine warm milk, yeast, and sugar. Let it sit for 5-10 minutes until foamy.
- Add salt, oil, and 2 cups of flour to the yeast mixture. Mix until combined. Gradually add the remaining 1 cup of flour, mixing until a soft dough forms.
- Turn the dough out onto a lightly floured surface and knead for 5-7 minutes until smooth and elastic. Alternatively, use a stand mixer with a dough hook for 5 minutes.
- Place the dough in a lightly oiled bowl, turning to coat. Cover with plastic wrap and let it rise in a warm place for 1-1.5 hours, or until doubled in size.
- While the dough is rising, prepare the garlic butter. In a small bowl, combine melted butter, minced garlic, parsley, garlic powder, and salt. Mix well.
- Preheat oven to 375°F (190°C). Punch down the risen dough and turn it out onto a lightly floured surface. Roll the dough into a large rectangle, about 12×18 inches.
- Spread the garlic butter evenly over the dough rectangle.
- Sprinkle the mozzarella and Parmesan cheese evenly over the garlic butter.
- Starting from the long edge, tightly roll the dough into a log. Slice the log into 12 equal rolls.
- Place the rolls in a greased 9×13 inch baking dish. Cover loosely with plastic wrap and let them rise for another 20-30 minutes.
- Bake in the preheated oven for 20-25 minutes, or until golden brown and the cheese is melted and bubbly.
- Let the rolls cool slightly before serving. Garnish with extra parsley, if desired.
Notes
- Yeast Activation: Ensure milk is warm (110°F/43°C) for optimal yeast activity.
- Kneading: Knead dough for 5-7 minutes until smooth and elastic.
- Rising Time: Let dough rise in a warm place for 1-1.5 hours, or until doubled.
- Baking: Bake until golden brown and cheese is melted, about 20-25 minutes.
- Prep Time: 20 minutes
- Cook Time: 25 minutes
- Category: Bread
- Method: Baking
- Cuisine: American
Nutrition
- Serving Size: 1 roll
- Calories: 250 cal
- Sugar: 3 g
- Sodium: 400 mg
- Fat: 12 g
- Saturated Fat: 7 g
- Unsaturated Fat: 0 g
- Trans Fat: 0 g
- Carbohydrates: 30 g
- Fiber: 1 g
- Protein: 5 g
- Cholesterol: 30 mg
Keywords: cheesy garlic rolls, garlic rolls, cheese rolls, bread recipe, appetizer, side dish
