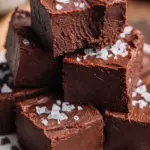

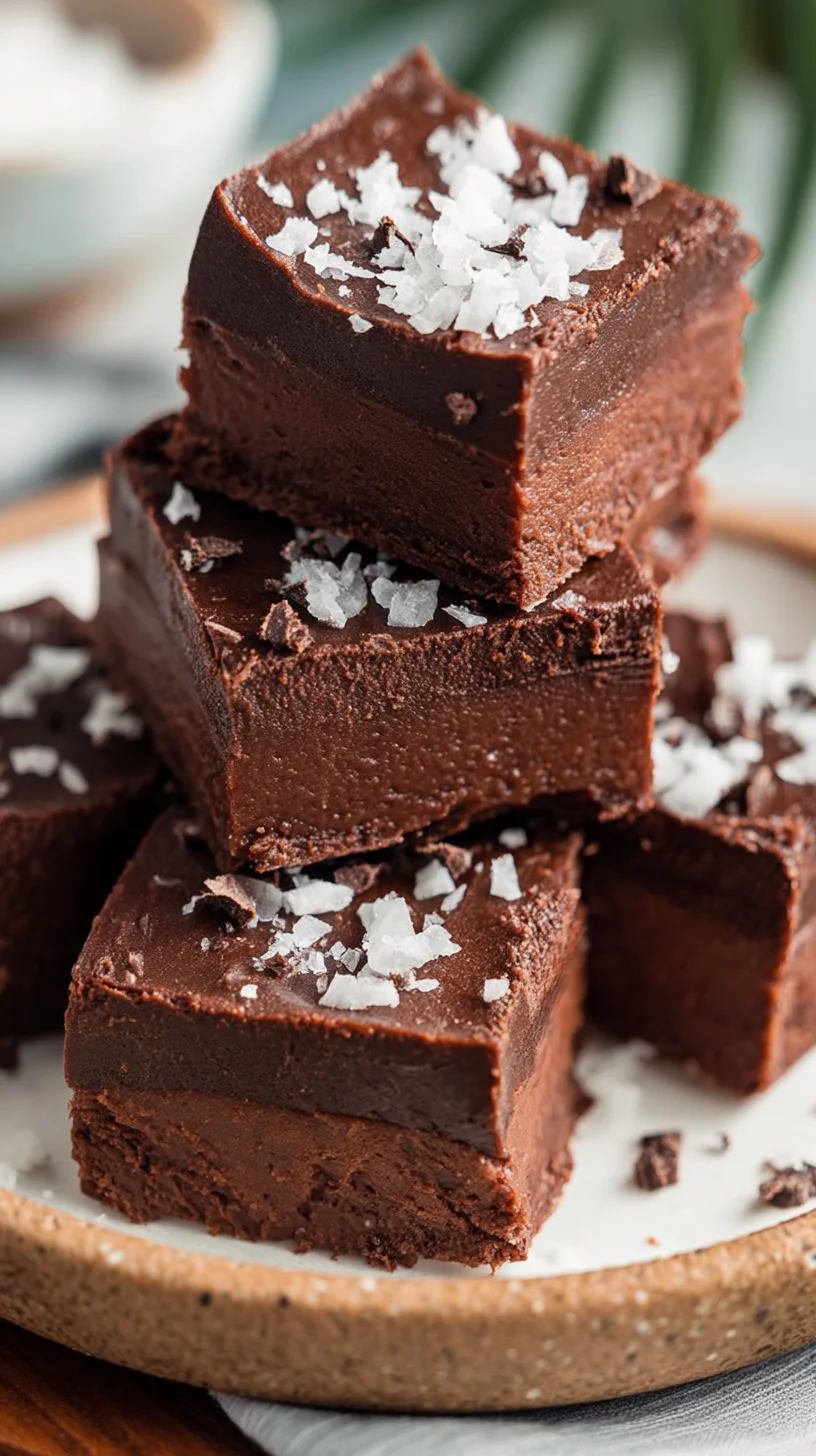
Step back in time with a slice of pure comfort! This incredible Old-Time Fudge recipe delivers that rich, creamy, melt-in-your-mouth chocolate experience you remember from childhood. It’s surprisingly simple to make, yet yields a truly decadent treat that’s perfect for gifting or indulging yourself.
Why You’ll Love This Old-Time Fudge
There’s nothing quite like a classic dessert, and this old-fashioned fudge is no exception. Here’s why it will quickly become your go-to:
- Rich, Deep Chocolate Flavor: We use Dutch-processed cocoa for an intense, satisfying chocolate punch.
- Velvety Smooth Texture: The careful cooking and beating process ensures a fudge that literally melts in your mouth.
- Nostalgic Comfort: This recipe captures the essence of homemade fudge, evoking warm memories with every bite.
- Perfect for Gifting: Homemade fudge makes a beautiful, heartfelt gift for holidays, birthdays, or just because.
- Feeds a Crowd (or Lasts a While): An 8-inch pan yields plenty of squares to share or to enjoy over several weeks.
- Inexpensive Ingredients: Made with pantry staples, this decadent treat won’t break the bank.
Ingredients Needed for Classic Old-Time Fudge
Gathering your ingredients is the first step to creating this luxurious fudge. Quality ingredients make all the difference in this timeless recipe.
- 3 cups (600g) granulated sugar: The foundation of our sweet confection.
- 2/3 cup (60g) unsweetened cocoa (Dutch processed): Crucial for that deep, mellow chocolate flavor. Make sure it’s Dutch-processed for best results.
- 1/8 teaspoon salt: A tiny pinch to balance the sweetness and enhance the chocolate. If using unsalted butter, you’ll want to increase this slightly.
- 1 1/2 cups (360ml) whole milk: Provides richness and helps create that creamy texture.
- 1/4 cup (56g) salted butter (room temperature): Adds incredible richness and a hint of salt. Pro Tip: If you’re using unsalted butter, increase the salt in the recipe to 1/4 teaspoon.
- 1 teaspoon vanilla extract: The essential finishing touch for a warm, inviting aroma and flavor.
YOU MIGHT LOVE: Hot Fudge Pudding Cake – For another decadent chocolate dessert, try this warm, gooey classic!
Essential Equipment for Perfect Homemade Fudge
Having the right tools on hand will make your fudge-making journey smooth and successful.
- 8-inch square pan: Essential for shaping your fudge perfectly.
- Parchment paper: Ensures easy removal and clean-up, preventing sticky situations.
- Medium saucepan (heavy-bottomed recommended): A sturdy pan helps distribute heat evenly and prevents scorching.
- Wooden spoon: Avoids scratching your saucepan and is ideal for stirring without encouraging crystallization.
- Candy thermometer: Crucial for precise temperature control, which is the secret to perfect fudge texture. Don’t skip this!
Old-Time Fudge Recipe Overview
Making this classic treat requires a bit of patience, but the active time is quite manageable.
- Prep Time: 10 minutes
- Cook Time: 45 minutes
- Cooling/Beating Time: 30-38 minutes
- Total Time (active): 1 hour 30 minutes
- Setting Time: 8 hours (or overnight)
- Yield: 36 pieces
- Difficulty: Medium
Step-by-Step Instructions to Make Old-Time Fudge
Creating this delicious fudge is a rewarding process that follows a few key steps. By paying close attention to temperatures and timing, you’ll achieve that irresistible, creamy texture every time. Let’s dive into making this classic chocolate confection!
- STEP 1: PREP THE PAN FOR EASY RELEASE
- Line an 8-inch square pan generously with buttered parchment paper. Make sure the paper extends over the sides to create “handles” for easy removal later. This crucial step prevents sticking!
- STEP 2: MIX THE FUDGE BASE CAREFULLY
- In a medium, heavy-bottomed saucepan, combine the granulated sugar, unsweetened Dutch-processed cocoa, and salt.
- Pour in the whole milk and stir everything together thoroughly with a wooden spoon. Avoid using a metal spoon as it can sometimes encourage sugar crystallization.
- STEP 3: BRING TO A STRONG BOIL
- Place the saucepan over medium heat, stirring constantly with your wooden spoon. Continue stirring until the mixture reaches a strong, rolling boil. This usually takes about 15 minutes. Ensure all sugar crystals dissolve.
- STEP 4: SIMMER AND MONITOR TEMPERATURE
- Once boiling, lower the heat to medium-low. Attach your candy thermometer to the side of the pan, ensuring it doesn’t touch the bottom.
- Cook without stirring until the mixture precisely reaches 234°F (112°C). This critical stage takes approximately 30 minutes. Pro Tip: Resist the urge to stir during this phase; stirring can lead to grainy fudge.
- STEP 5: ADD BUTTER AND VANILLA, THEN COOL
- Immediately remove the saucepan from the heat once it hits the target temperature.
- Add the room temperature salted butter and vanilla extract directly to the hot mixture, but do not stir them in yet.
- Let the mixture cool undisturbed to room temperature, which is roughly 110°F (43°C). This cooling period typically takes about 30 minutes.
- STEP 6: BEAT THE FUDGE TO PERFECTION
- Once the mixture reaches 110°F (43°C), it’s time for the magic! Use your wooden spoon to beat the fudge vigorously.
- Beat for 6-8 minutes, or until the mixture begins to lose its glossy sheen and thickens significantly. You’ll notice it starting to firm up and look less shiny, which indicates it’s ready to set.
- STEP 7: SET THE FUDGE QUICKLY
- Working quickly, spread the beaten fudge evenly into your prepared 8-inch square pan. The fudge will be firming up fast now.
- Allow the fudge to cool completely at room temperature, preferably overnight. This slow setting process is key to a smooth texture.
- STEP 8: CUT AND SERVE YOUR DELICIOUS FUDGE
- Once the fudge is fully cooled and set (it should be firm to the touch), lift it out of the pan using the parchment paper handles.
- Peel off the parchment paper, then cut the fudge into desired squares using a sharp, warm knife. Enjoy your homemade treat!
CHECK OUT: The BEST Chocolate Crinkle Cookies Dessert Recipe – If you love deep chocolate flavor in a soft, crackled cookie, this recipe is a must-try.

Tips for Success with Old-Time Fudge
Achieving perfect, creamy fudge is all about precision and patience. Here are a few expert tips to ensure your success:
- Use a Candy Thermometer: This is non-negotiable. Reaching the exact temperature of 234°F (112°C) is crucial for the right consistency.
- Avoid Stirring While Simmering: Once the boil is strong, stop stirring until the target temperature is reached to prevent sugar crystallization and a grainy texture.
- Cool Undisturbed: Let the fudge cool down to 110°F (43°C) without disturbing it. This allows proper crystal formation for a smooth result.
- Beat Vigorously: The beating stage transforms the mixture into creamy fudge. Don’t stop until it loses its gloss and thickens.
- Work Quickly at the End: Once beating is complete, spread the fudge into the pan without delay, as it will set rapidly.
Variations & Substitutions for Your Fudge
While this classic recipe is perfect on its own, feel free to get creative and customize your fudge!
- Nutty Fudge: Fold in 1 cup of chopped walnuts, pecans, or almonds after beating, just before spreading into the pan.
- Peppermint Fudge: Add 1/2 teaspoon of peppermint extract along with the vanilla, and sprinkle crushed candy canes on top before it sets.
- Coffee Fudge: Dissolve 1-2 tablespoons of instant espresso powder in the milk before adding it to the saucepan for a mocha twist.
- Marshmallow Swirl: After spreading the fudge into the pan, dollop small amounts of marshmallow fluff on top and swirl gently with a knife.
Serving Suggestions for Old-Time Fudge
This rich, chocolatey fudge is delightful on its own, but here are a few ways to elevate your serving experience:
- With Hot Beverages: Pair a square of fudge with a steaming mug of hot chocolate, coffee, or a cozy chai latte for a truly comforting treat.
- Dessert Platter: Include it on a platter with other small sweets like cookies or fruit for a balanced dessert spread.
- Ice Cream Topping: Gently warm a piece and crumble it over a scoop of vanilla bean ice cream for an instant sundae.
- Garnish: Sprinkle with a tiny pinch of flaky sea salt before it fully sets for a sophisticated sweet and salty touch.
Health Benefits of This Sweet Treat
While fudge is undeniably an indulgent treat, enjoying it in moderation can be part of a balanced lifestyle. Made with whole milk and real cocoa, this recipe offers a few unexpected benefits:
- Mood Booster: Chocolate is known to stimulate endorphins, offering a delightful mood lift and sense of well-being.
- Antioxidants from Cocoa: Dutch-processed cocoa contains flavonoids, which are potent antioxidants that can contribute to overall health.
- Calcium from Milk: The whole milk provides a good source of calcium, essential for bone health.
- Energy Source: The sugar and fats provide a quick burst of energy, perfect for a small pick-me-up.
Storage & Reheating Your Homemade Fudge
Proper storage ensures your delicious homemade fudge stays fresh and delightful for as long as possible.
- Room Temperature: Store the fudge in an airtight container at room temperature for up to 2 weeks. Place parchment paper between layers to prevent sticking.
- Refrigerator: For slightly longer storage, wrap the fudge tightly in plastic wrap or aluminum foil and store in an airtight container in the fridge for 2-3 weeks.
- Freezer: To enjoy your fudge for months, wrap individual pieces or blocks tightly in plastic wrap, then place them in a freezer-safe bag or container. Freeze for up to 3 months. Thaw completely at room temperature before serving for the best texture.
Frequently Asked Questions about Old-Time Fudge
Got questions about making the perfect batch of fudge? We’ve got answers!
How do I prevent grainy fudge?
Grainy fudge is usually caused by sugar crystallization. Avoid stirring the mixture after it reaches a strong boil until it has cooled to 110°F (43°C). Also, wipe down the sides of the pan with a wet pastry brush during the initial cooking to dislodge any clinging sugar crystals.
Can I double this Old-Time Fudge recipe?
You can double the recipe, but use a much larger, heavy-bottomed pot to accommodate the volume. Be aware that cooking times will significantly increase, and it will take longer to reach the correct temperature and cool down.
What if my fudge doesn’t set?
If your fudge doesn’t set, it likely didn’t reach the correct temperature (234°F/112°C). You can try to re-cook it. Place the fudge back in the saucepan with a little more milk (about 1/4 cup), melt it down slowly, and then bring it back up to temperature, carefully monitoring with a candy thermometer.
Why did my fudge turn out too hard?
Fudge that is too hard usually means it was cooked to too high a temperature. Even a few degrees above 234°F (112°C) can make a big difference in the final texture. Make sure your candy thermometer is accurate!
Can I use a stand mixer to beat the fudge?
Yes, many people prefer to use a stand mixer with a paddle attachment for the beating stage. It saves your arm and often ensures a consistent beat, leading to very smooth fudge. Just watch for the loss of gloss and thickening as your cue.
More Delicious Dishes
- Caramel Brownie Cheesecake – Indulge in layers of rich caramel and fudgy brownie goodness.
- Peanut Butter Blossoms with the Softest, Chewiest Bite – These classic cookies are soft, chewy, and topped with a delightful chocolate kiss.
- Heavenly Vanilla Cream Filled Caramels – Discover a melt-in-your-mouth confection with a sweet, creamy center.
Conclusion
There you have it – the ultimate guide to making truly delectable Old-Time Fudge right in your own kitchen! This recipe promises a rich, creamy, and deeply satisfying chocolate treat that will become a cherished tradition. Don’t forget to follow us on Facebook and Pinterest for more delightful recipes!
Print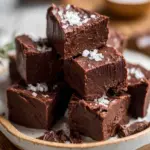
Old-Time Fudge
- Total Time: 1 hour 30 minutes
Description
Recreate the magic of classic homemade fudge with this easy, reliable Old-Time Fudge recipe. Experience rich, creamy chocolate perfection that’s ideal for any occasion.
Ingredients
3 cups (600g) granulated sugar
2/3 cup (60g) unsweetened cocoa (Dutch processed)
1/8 teaspoon salt
1 1/2 cups (360ml) whole milk
1/4 cup (56g) salted butter (room temperature) *If using unsalted butter, increase salt to 1/4 teaspoon
1 teaspoon vanilla extract
Instructions
Line an 8-inch square pan with buttered parchment paper for easy removal later.
In a medium saucepan, combine the sugar, cocoa, and salt. Add the milk and stir with a wooden spoon (avoid metal spoons).
Cook over medium heat, stirring constantly, until the mixture reaches a strong boil (about 15 minutes).
Lower the heat to medium-low and cook without stirring until the temperature reaches 234°F (112°C) — around 30 minutes.
Remove from heat and add the butter and vanilla extract, but don’t stir. Let the mixture cool to room temperature (about 30 minutes).
Once the mixture reaches 110°F (43°C), use a wooden spoon to beat the fudge for 6-8 minutes until it starts losing its gloss.
Quickly spread the fudge into the prepared pan and let it cool completely, preferably overnight at room temperature.
Once cooled, cut the fudge into squares and enjoy!
Notes
Store the fudge in an airtight container at room temperature for up to 2 weeks.
Wrap the fudge and store in the fridge for 2-3 weeks.
For longer storage, freeze the fudge wrapped in plastic or a double bag for up to 3 months. Thaw before serving.
- Prep Time: 10 minutes
- Cook Time: 45 minutes
- Cuisine: American
Nutrition
- Calories: 90 kcal
- Sodium: 15mg
- Saturated Fat: 1.5g
- Unsaturated Fat: 1g
- Trans Fat: 0g
- Fiber: 0.5g
- Protein: 1g
- Cholesterol: 5mg
Keywords: old-time fudge, homemade fudge, chocolate fudge, classic dessert, easy fudge, confectionery, sweet treat